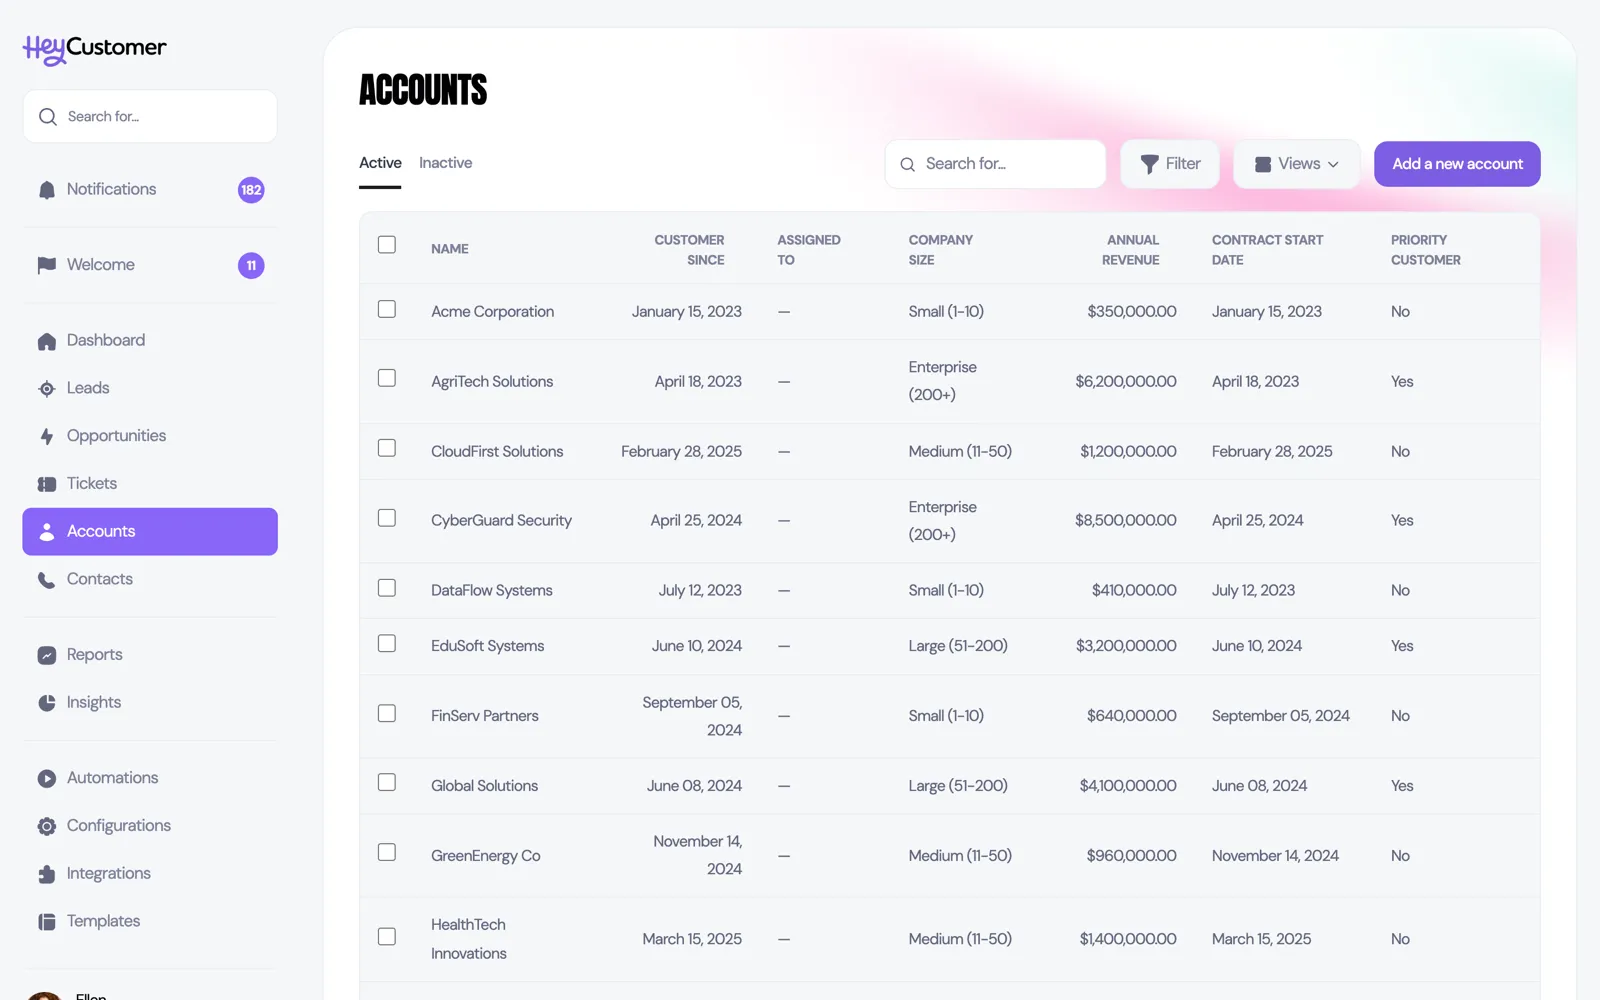
Track the details Hey Customer doesn't ask for out of the box
Custom fields let you track the details Hey Customer doesn't ask for out of the box — contract dates, service tiers, warranty numbers, whatever your business runs on — on your accounts, leads, opportunities, and tickets.
How it works
You add custom fields one record type at a time. A field you create for accounts appears on every account, and only on accounts. The four record types that can carry custom fields are accounts, leads, opportunities, and tickets, and each one keeps its own separate set.
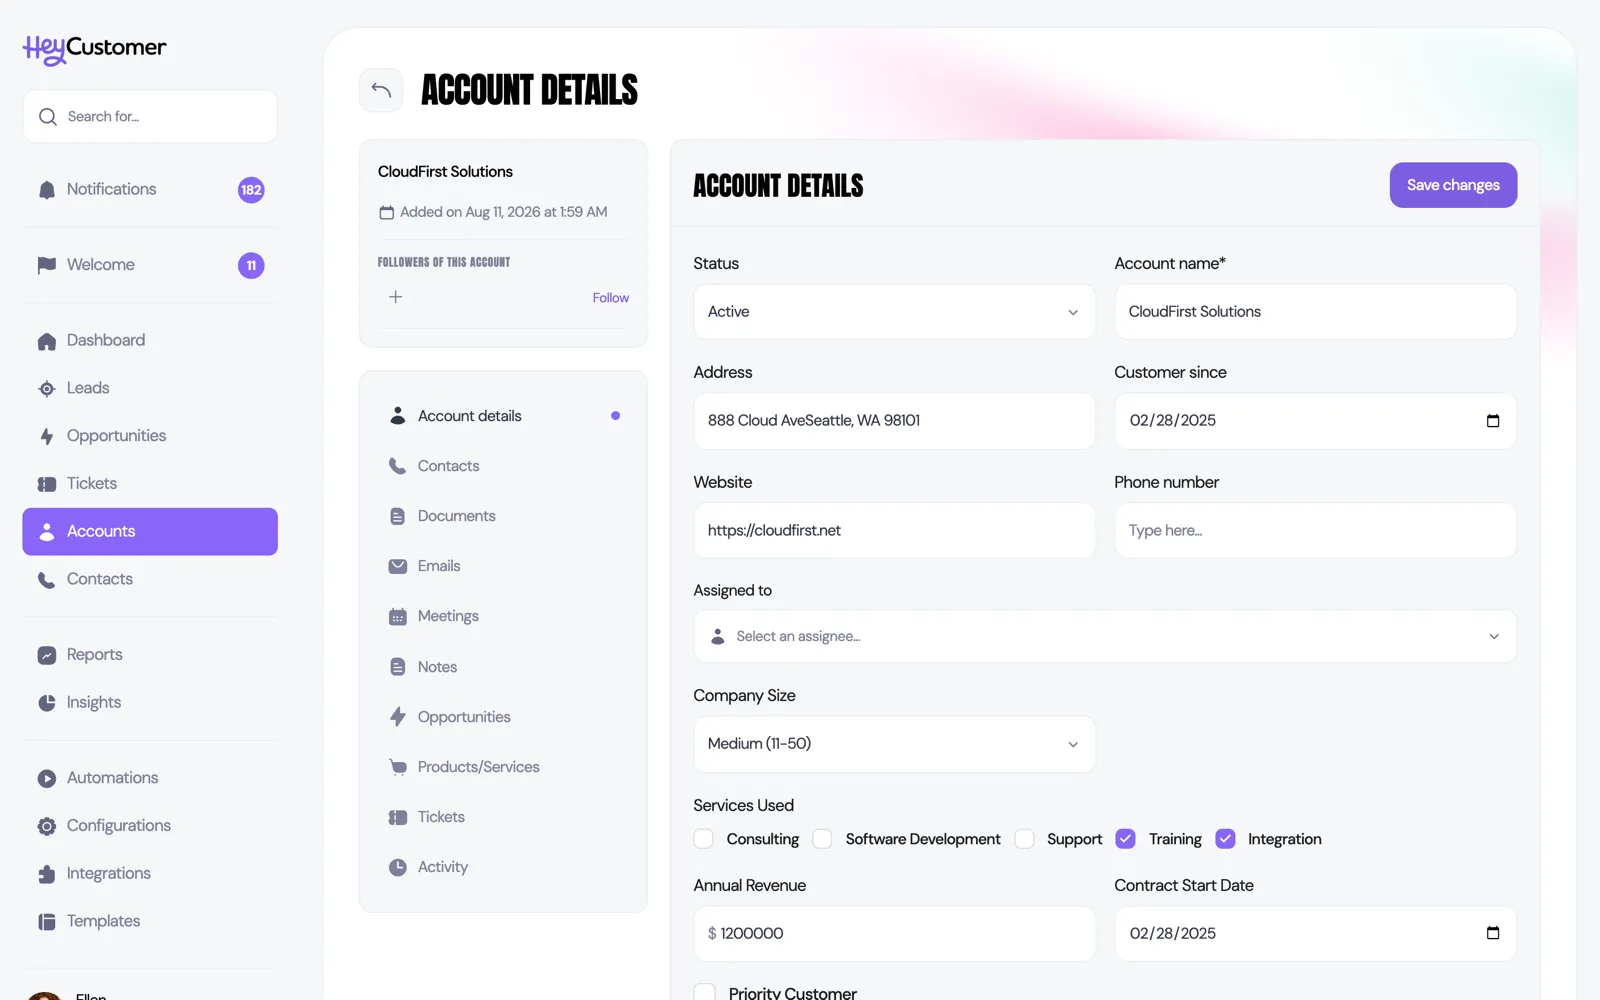
Once a field exists, it shows up automatically wherever people work with that record type: on the form when someone creates a record, on the record's own page, and — if you choose — as a column in the list view. The order you put your fields in is the order they appear on the form, so you can group related questions together.
Custom fields aren't just storage. They also become available as report columns, report filters, and automation conditions, so anything you capture can be measured and acted on later.
Create a custom field
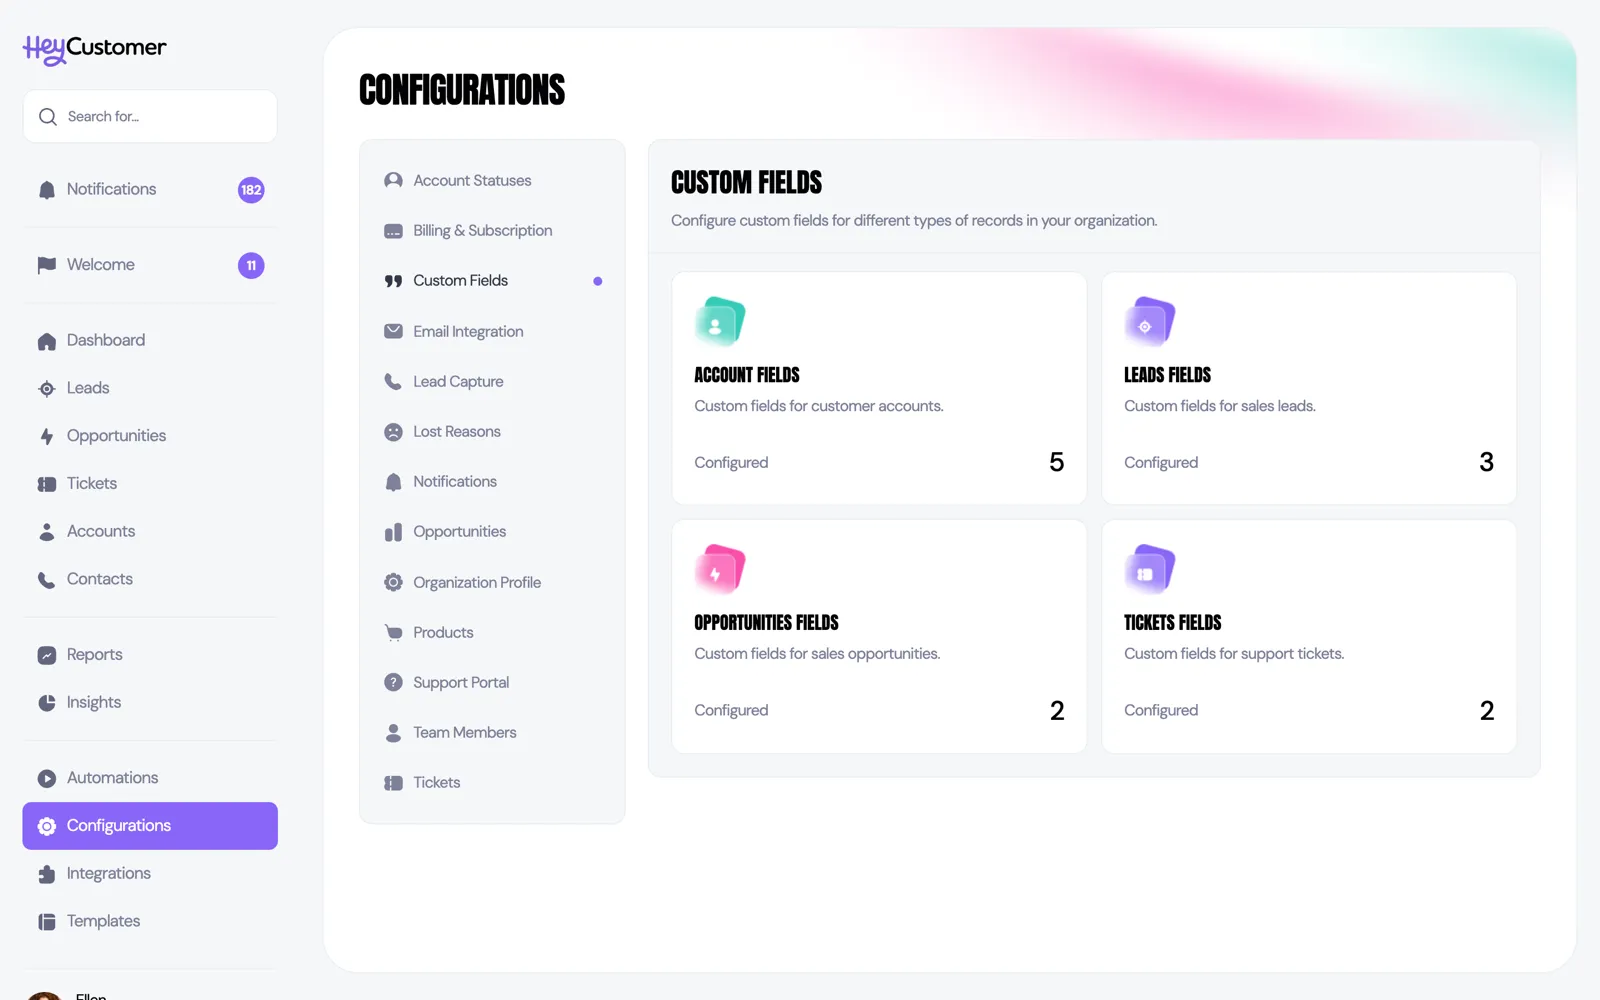
Go to Configurations > Custom Fields. You'll see a card for each record type with a count of how many fields it has.
Open the card for the record type you want — accounts, leads, opportunities, or tickets.
Click Add a new custom field.
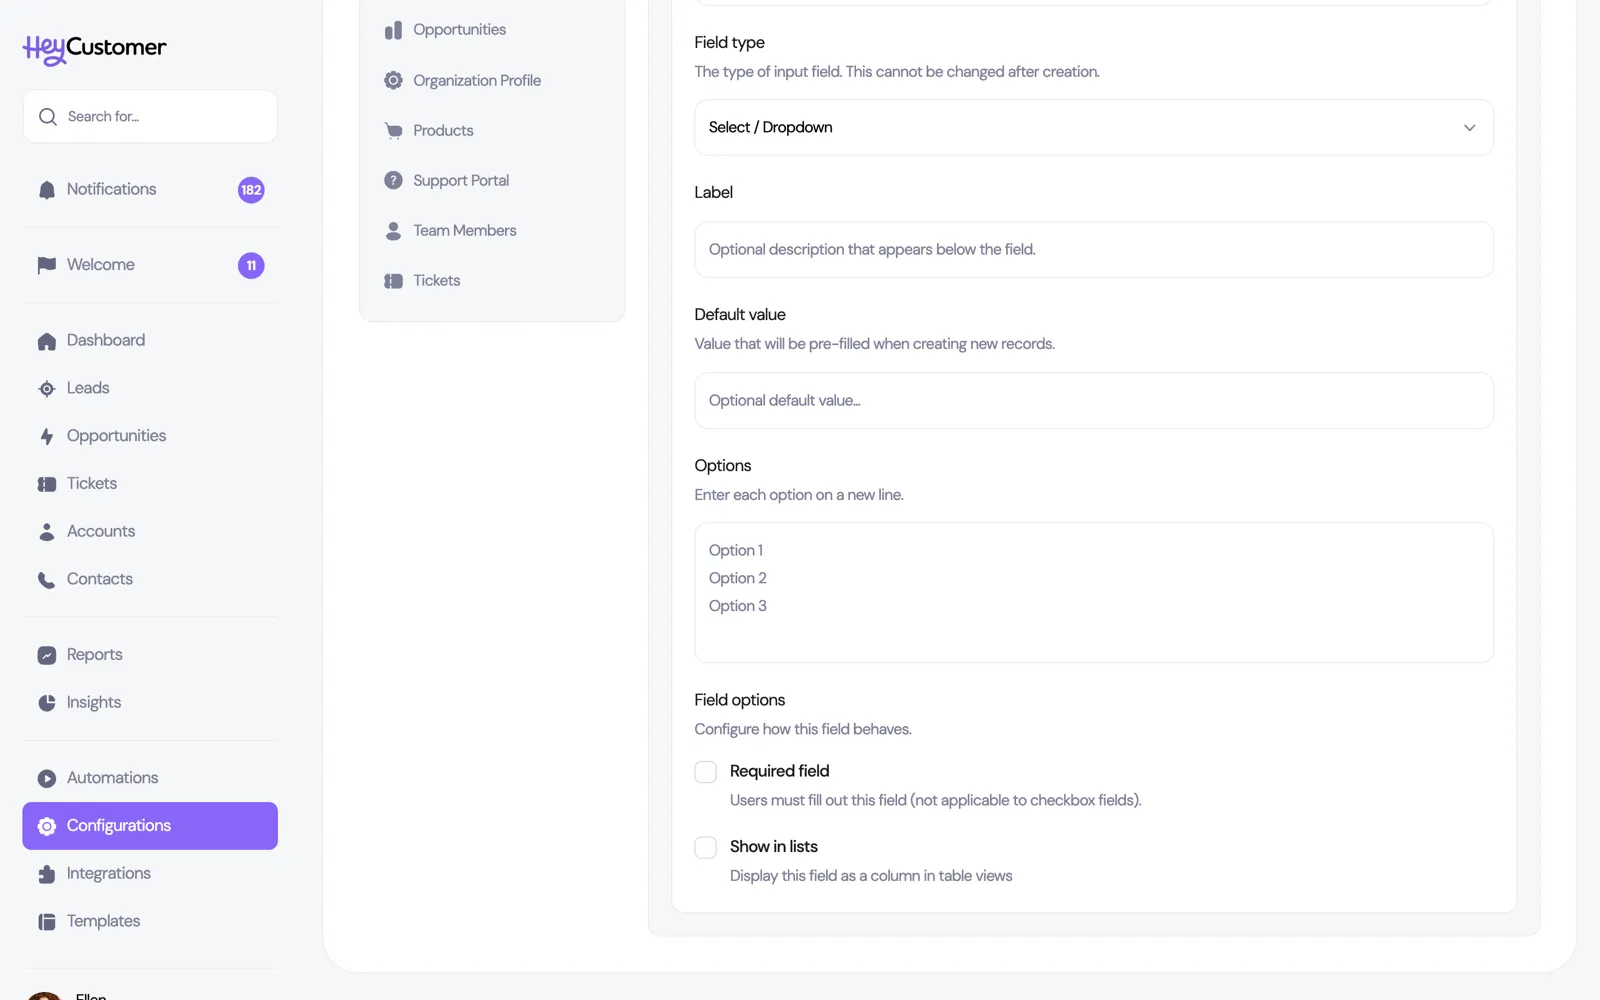
Enter a Field name. This is the label people see next to the input, so keep it short and plain: "Industry", "Contract end date", "Service tier".
Pick a Field type. Choose carefully — the type can't be changed after the field is created.
Add a Label if the field needs explaining. This is optional helper text that appears in small print under the field name, just above the input. On a lead field, it's also shown to visitors on any lead capture form that uses the field.
Set a Default value if most records will have the same answer. It's filled in for you on new records and can be changed.
For a select or multi-select field, type your Options into the box, one per line.
Check Required field if the record shouldn't be saved without an answer.
Check Show in lists to add the field as a column on that record type's list view.
Click Add a new custom field to save.
Choose a field type
There are eleven types to choose from:
Text — a single line of free text.
Large Text — a multi-line box for longer notes.
Number — any number, whole or decimal.
Currency — a money amount, shown with a dollar sign.
Date — a date picker.
Single Checkbox — a yes-or-no box.
Select / Dropdown — one answer from a list you define.
Multi-Select — any number of answers from a list you define.
Email — an email address, checked for a valid format.
URL — a web address that must start with http:// or https://.
Phone Number — a phone number of at least ten digits.
The type you pick decides how the answer is checked when someone saves the record. A number field won't accept letters, a date field won't accept a date it can't read, and a select field won't accept anything that isn't one of your options.
Reorder and archive fields
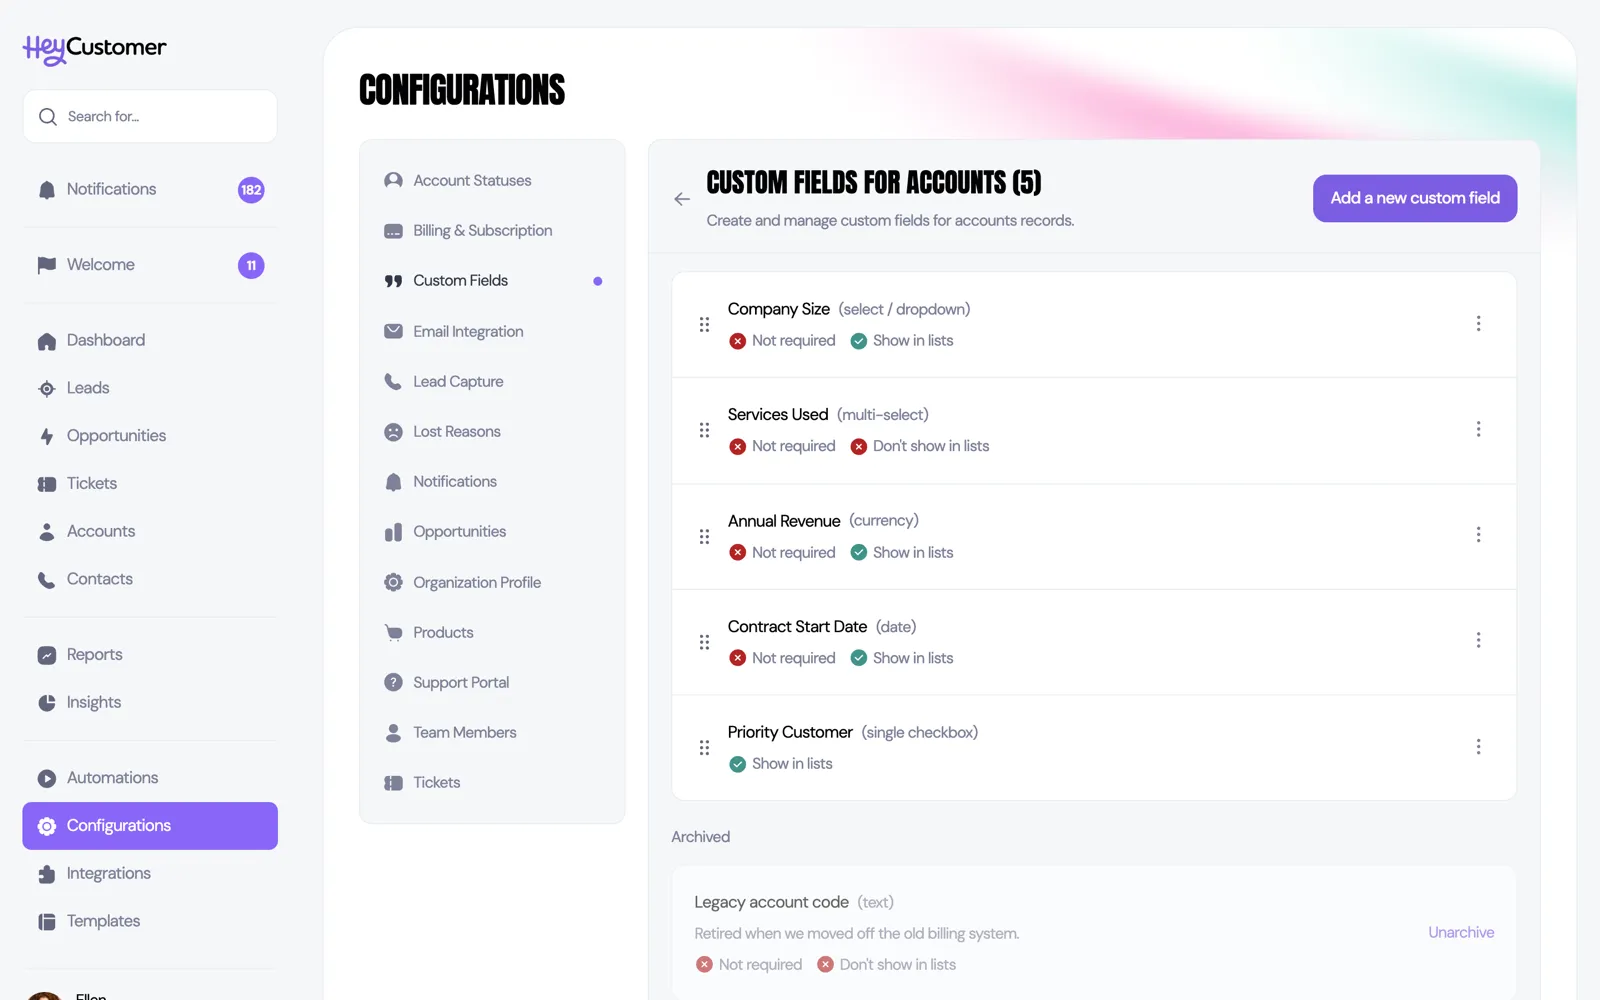
Go to Configurations > Custom Fields and open a record type.
Drag a field up or down to change where it sits on the form. The new order saves on its own.
To retire a field, choose Archive on it. It moves to the Archived section at the bottom of the page.
To bring it back, choose Unarchive on the archived field.
Archiving is the safe way to stop using a field. The field disappears from forms, list columns, and the menus you pick from when building reports, but everything already entered stays exactly where it is and comes back the moment you unarchive.
Use your fields
Custom fields show up in four places once they exist:
On records. They appear on the create and edit forms and on the record's page, in the order you arranged them.
In lists. Any field with Show in lists turned on becomes a sortable column on that record type's list.
In reports. Custom fields can be added as report columns, used as filters, and sorted on, alongside the built-in fields.
In automations. A custom field's value can be used as a condition, so an automation can act on what you captured.
Lead custom fields can also be added to a lead capture form, so the answers arrive already filled in when someone submits the form on your website.
Good to know
Custom fields are available on accounts, leads, opportunities, and tickets. Contacts don't have them.
The field type is permanent. If you picked the wrong one, archive that field and create a replacement.
Select and multi-select fields need at least one option before they'll save.
Single Checkbox fields can't be marked required — a box that must be checked isn't really a question.
Fields are per record type. If you want the same question on both tickets and accounts, create it in both places.
In list columns, a record with no answer shows a dash.
Creating and editing custom fields needs the "Access all configurations" permission.
custom field, custom fields, add a field, extra field, dropdown field, picklist, multi-select, required field, field type, record field, account field, ticket field, lead field, archive a field, reorder fields