Hey Customer keeps your leads, opportunities, support tickets, contacts and accounts in one place. This guide covers your first hour: finding the welcome checklist, inviting your team, shaping the pipeline to match how you sell, adding your own fields, and capturing leads straight from your website.
How it works
Your organization has its own web address — the name you chose at signup, followed by heycustomer.com. Everyone you invite signs in there, and everything they see belongs to your organization alone.
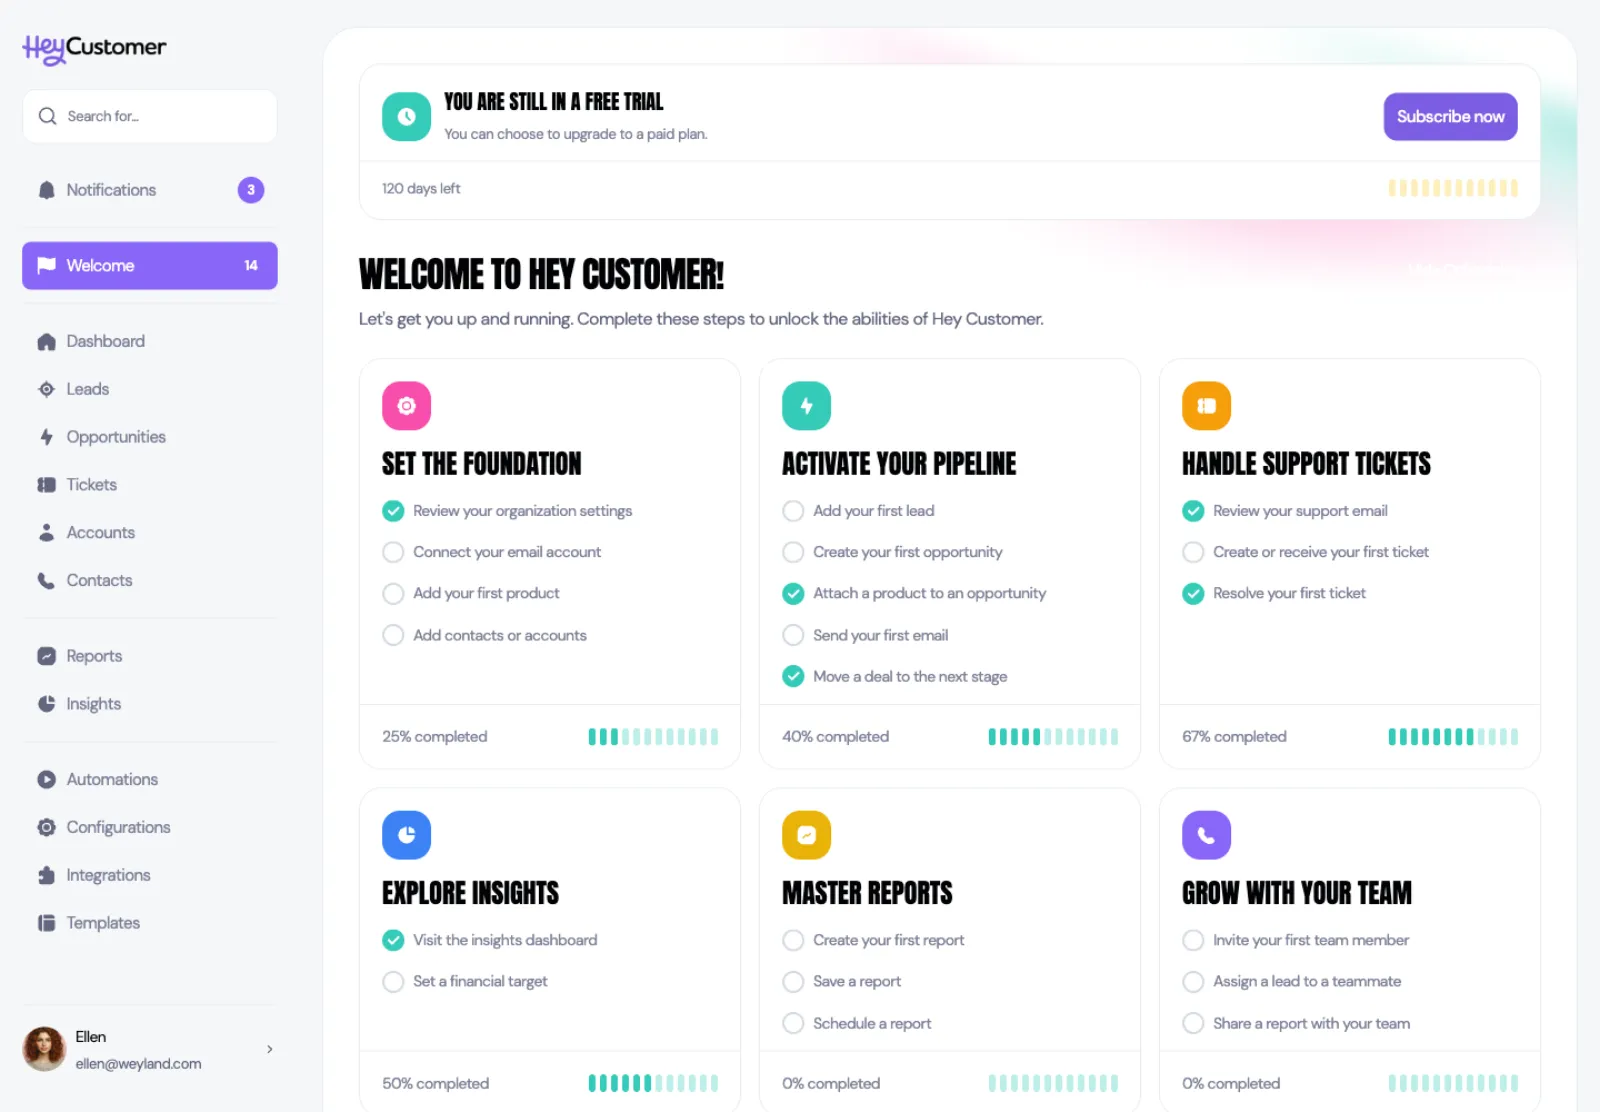
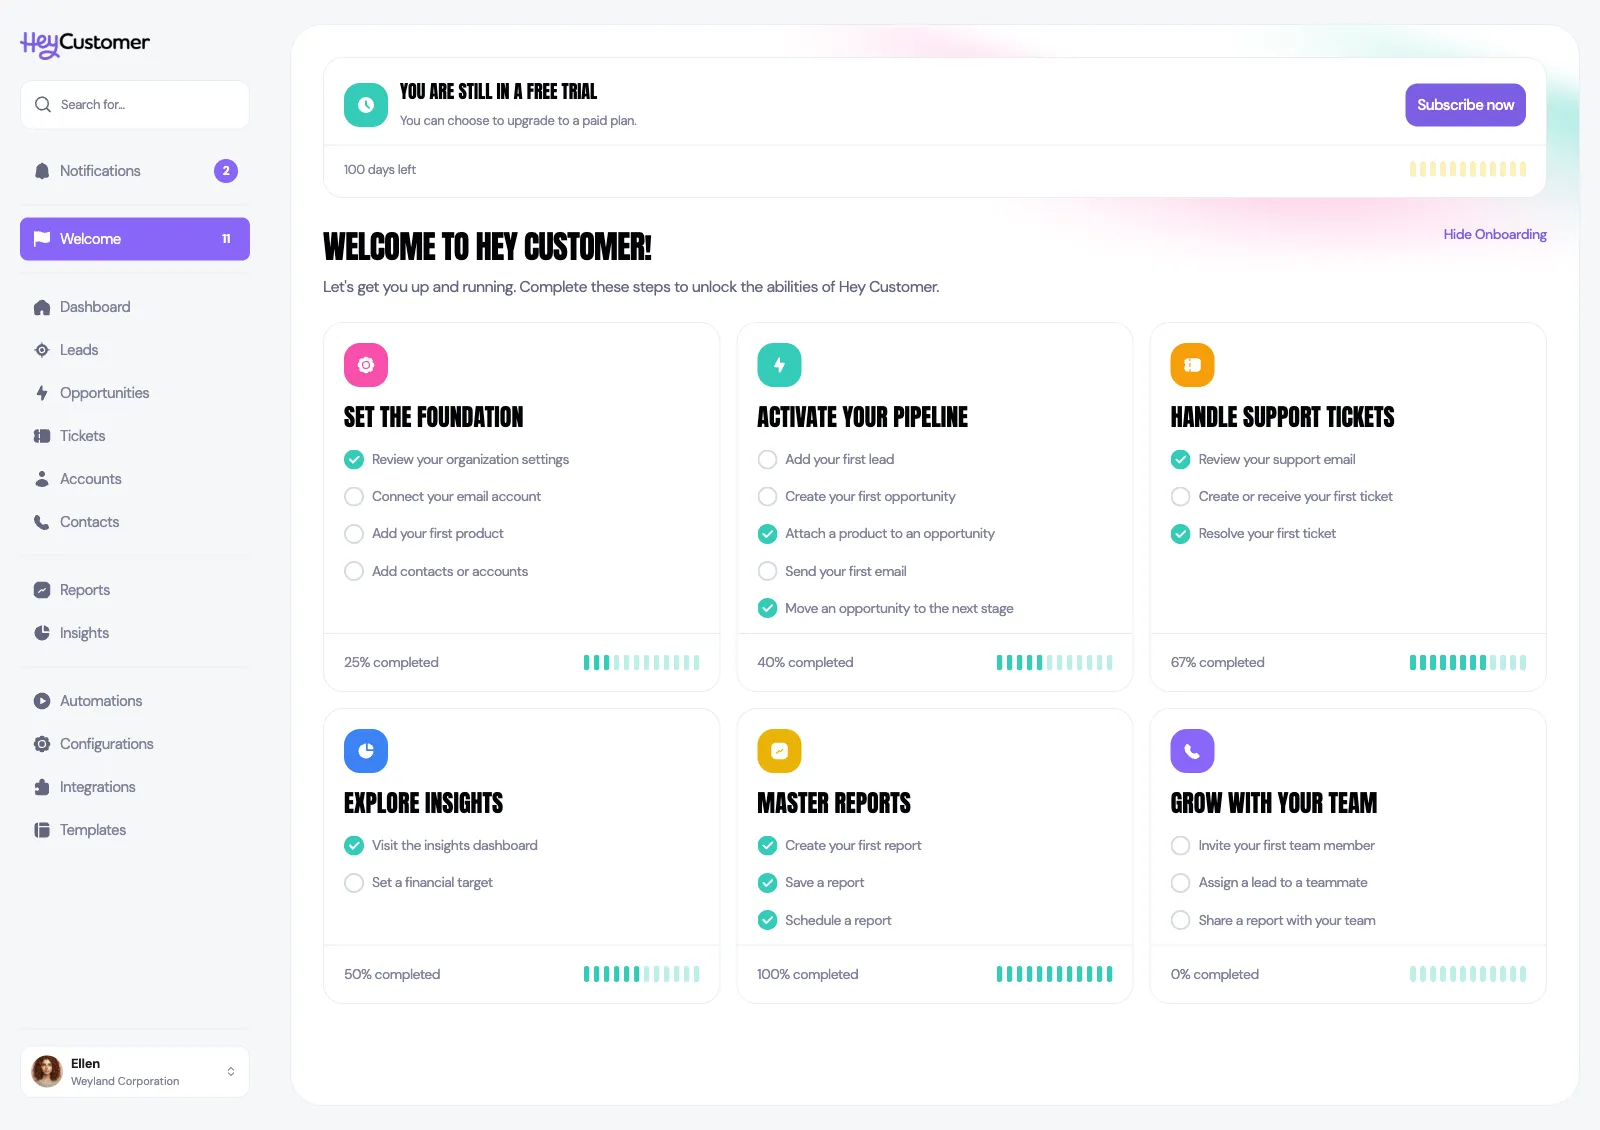
The first time you sign in, Hey Customer takes you to the Welcome page rather than the dashboard. It's a checklist of 20 setup steps grouped into six cards: Set the Foundation, Activate Your Pipeline, Handle Support Tickets, Explore Insights, Master Reports, and Grow with Your Team. Every step links to the screen where you complete it, and it checks itself off once you've actually done the thing — there's nothing to mark as done by hand.
Most of the setup below happens under Configurations in the left sidebar. Team members, pipeline statuses, custom fields and lead capture forms each have their own page there.
New organizations start on a 30-day free trial. A banner at the top of the Welcome page counts down the days you have left and links to billing whenever you're ready to subscribe.
Start with the welcome checklist
Sign in and look for Welcome near the top of the left sidebar. The number beside it is how many steps are still open.
Select any step to jump straight to the screen where you complete it.
Come back whenever you like — each card shows its own percentage complete, so you can work through one theme at a time.
Select Hide Onboarding once you're set up, if you'd rather not see the checklist again.
Invite your team
Teammates join by invitation, and the permission group you pick decides what they can see and do.
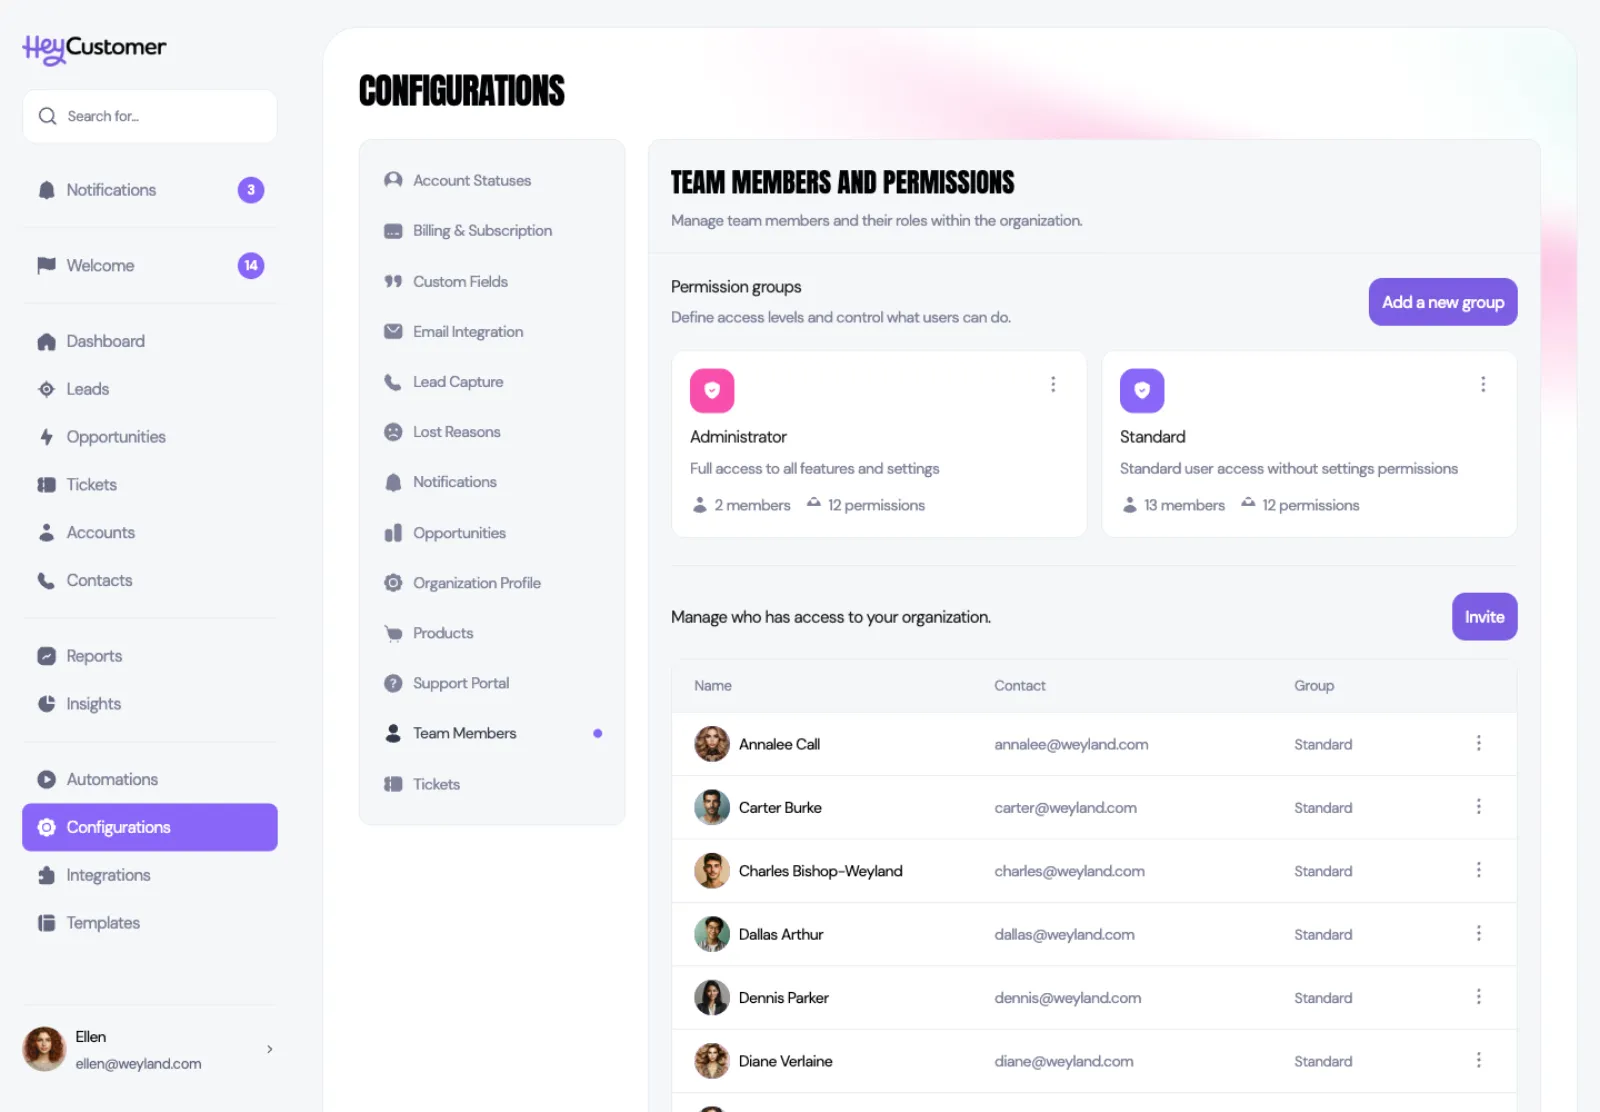
Go to Configurations and then Team Members.
Select Invite.
Enter their first name, last name and email address.
Choose a permission group.
Select Send. They get an email with a link that sets up their password.
You start with two groups. Administrator has full access, including Configurations. Standard covers everyday work but not settings, templates or integrations. If neither fits, select Add a new group, name it, and check exactly the permissions it should have.
Match the pipeline to how you sell
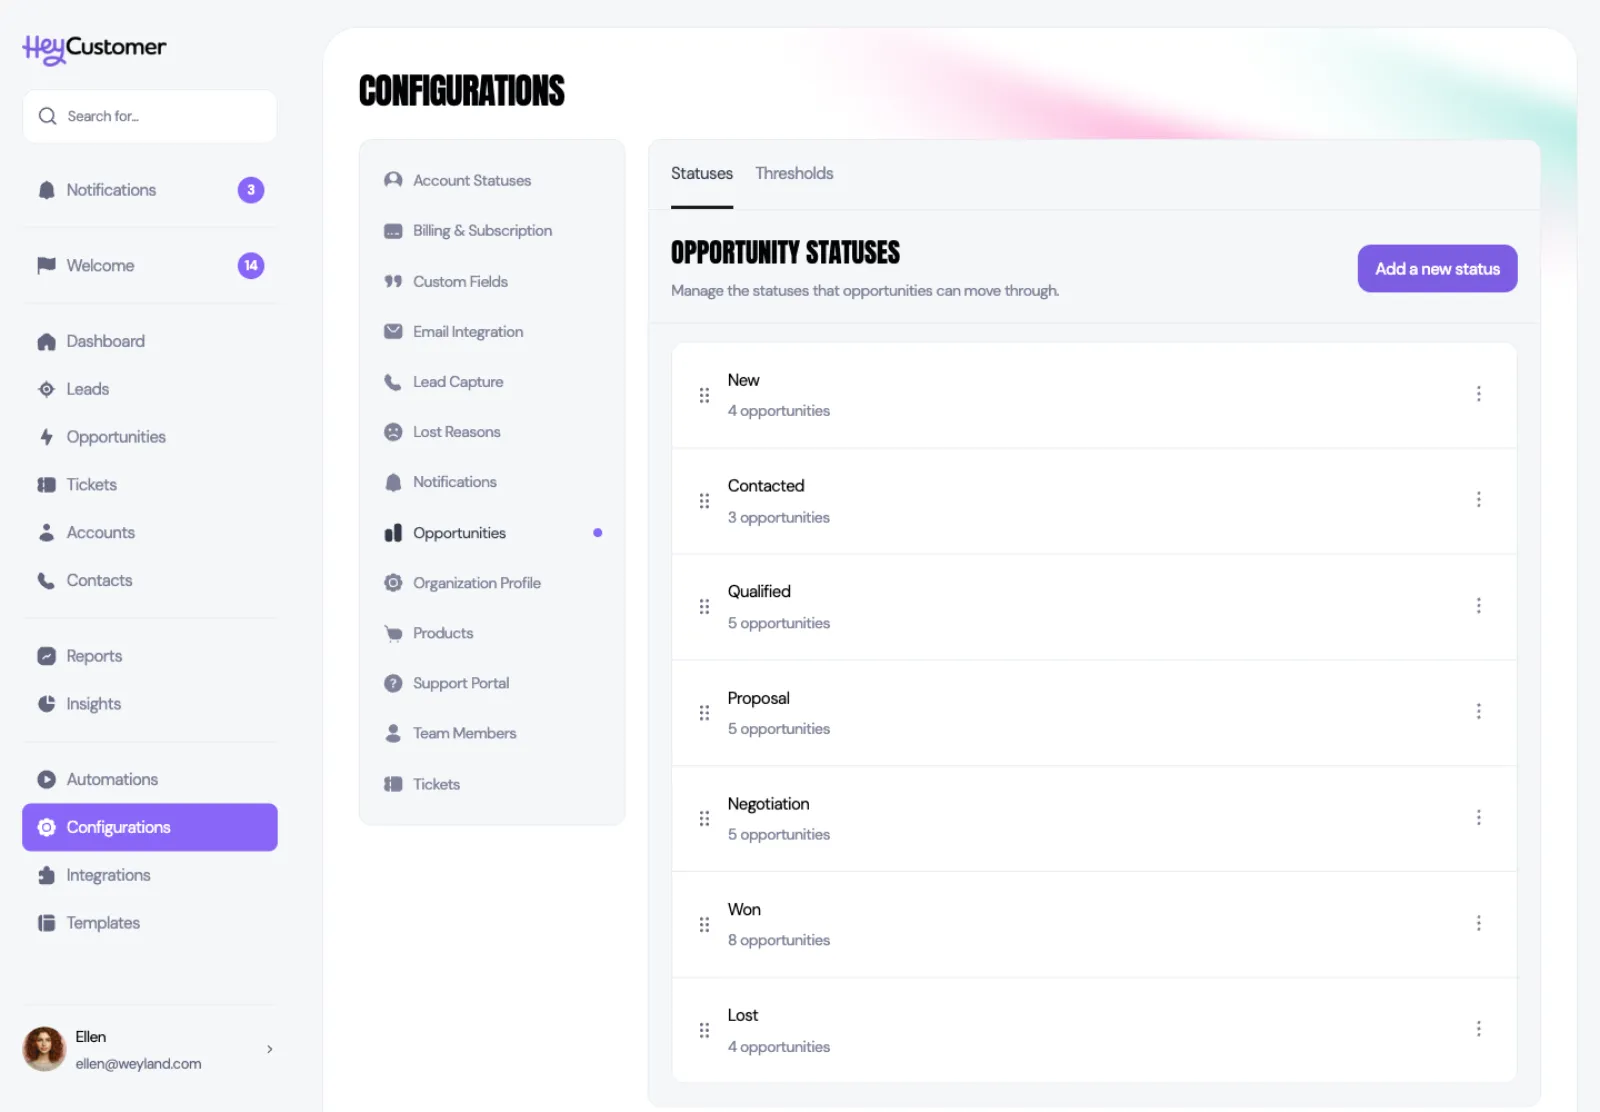
Opportunities move through statuses you control. Out of the box these are New, Contacted, Qualified, Proposal, Negotiation, Won and Lost — rename them, reorder them, or add your own.
Go to Configurations and then Opportunities, on the Statuses tab.
Select Add a new status.
Give it a name and a probability — the rough chance an opportunity in this status closes.
Drag the handle at the left of any status to change the order opportunities move through.
Archive a status you no longer use to take it out of circulation without touching past opportunities.
Probability isn't just a label. Insights multiplies each open opportunity's value by its status probability to work out your weighted pipeline, so realistic numbers here give you a more honest forecast.
Capture the details that matter to you
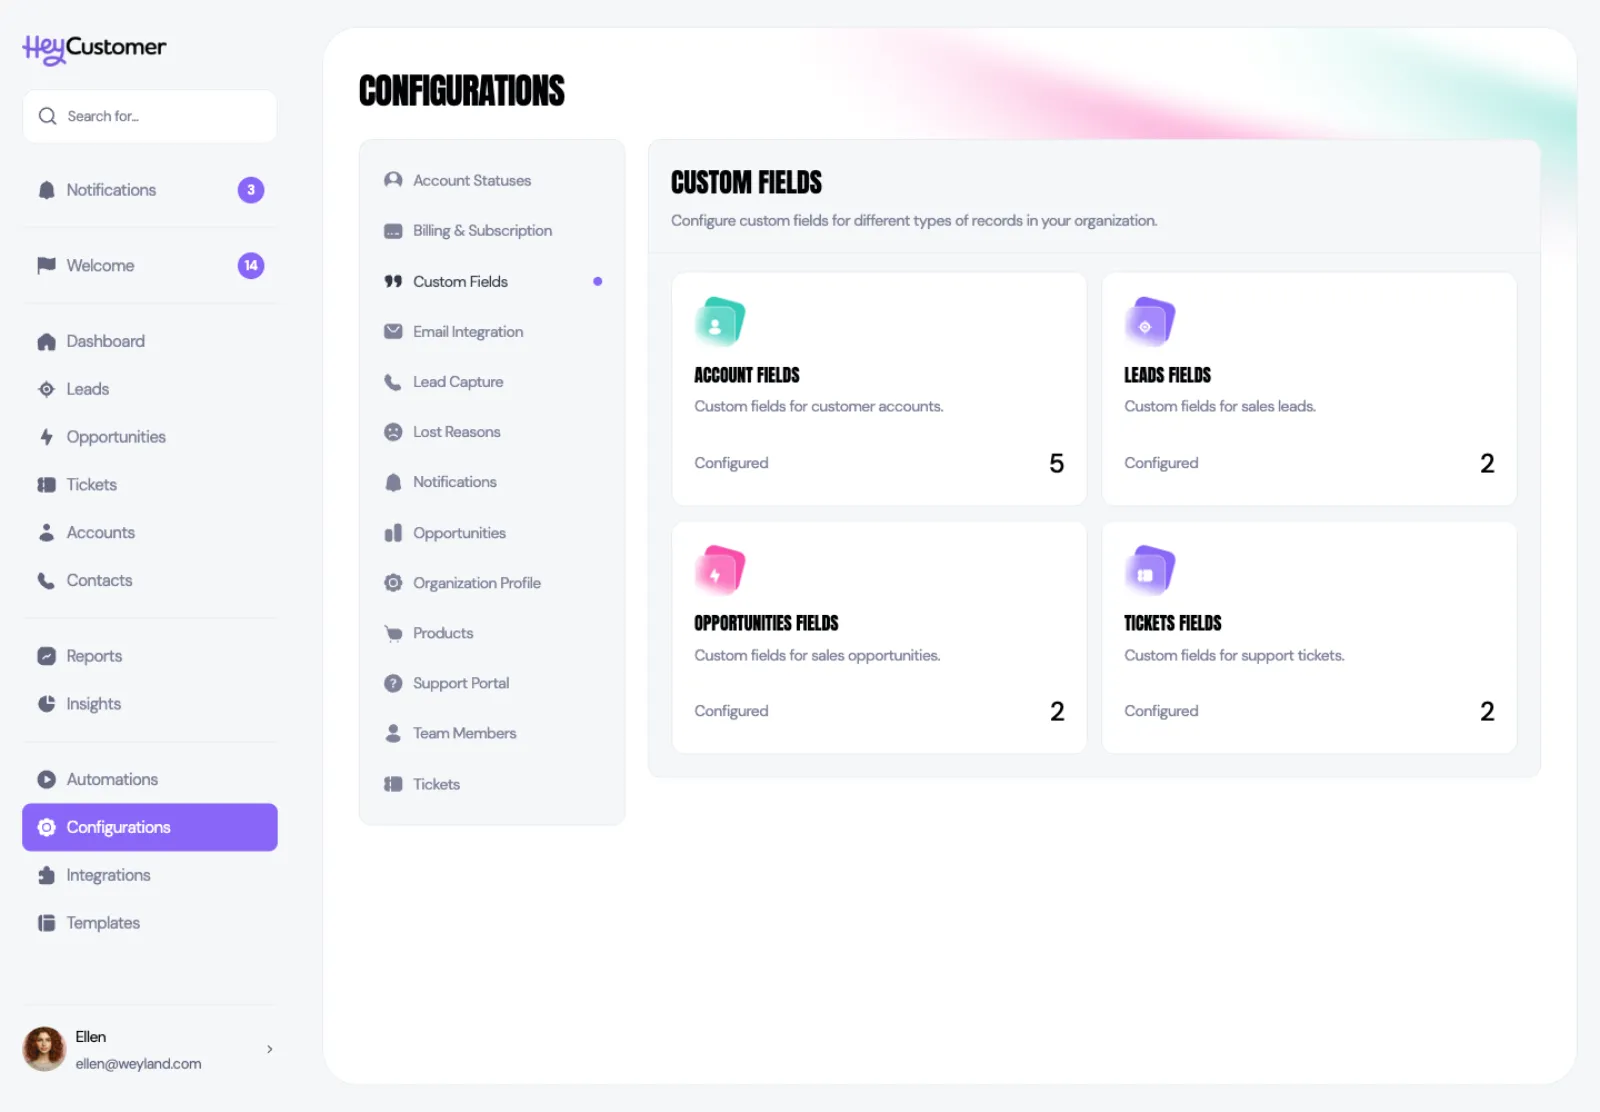
Custom fields let you track things Hey Customer doesn't ask for out of the box — industry, contract number, renewal date, whatever your business runs on. You can add them to accounts, leads, opportunities and tickets, and each record type keeps its own set.
Go to Configurations and then Custom Fields.
Choose the record type you want to extend: Account, Leads, Opportunities or Tickets.
Select the option to add a new field.
Name the field and choose its type — text, large text, number, single checkbox, select, multi-select, date, email, URL, phone number or currency.
For a select or multi-select, type each choice on its own line.
Check Required field if it must be filled in, and Show in lists to make it a column in table views.
Save. The field appears on every record of that type straight away.
Capture leads from your website
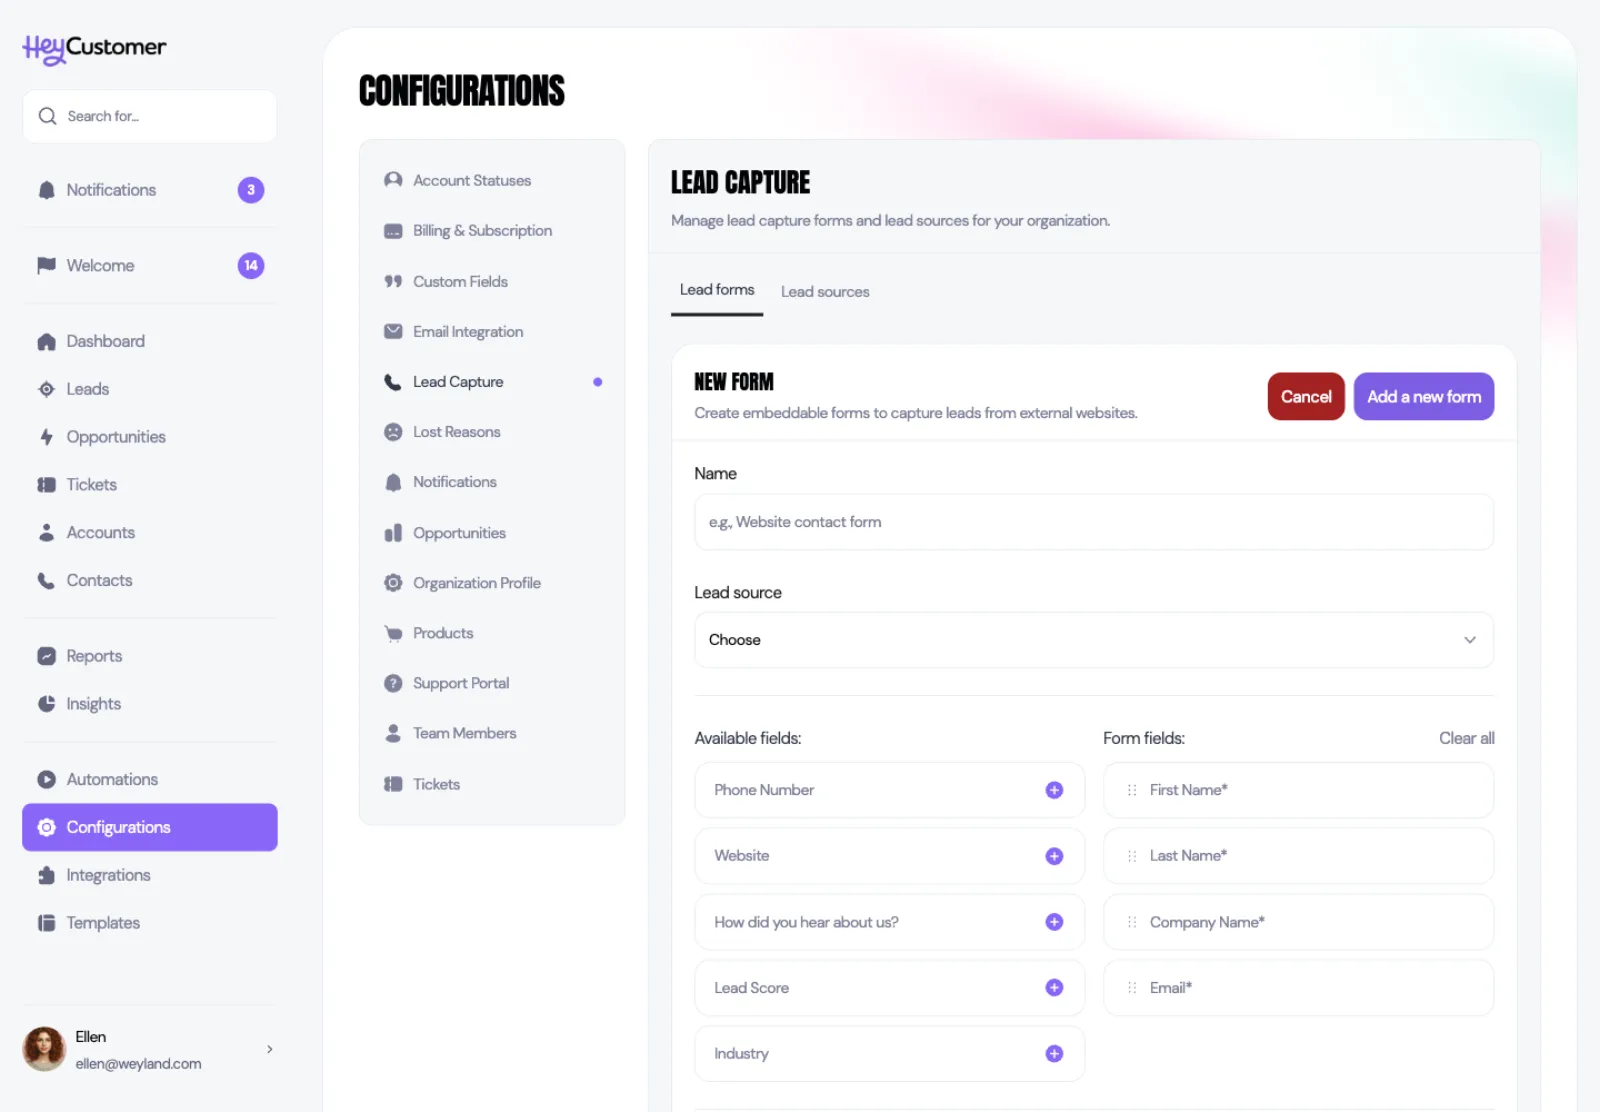
A lead capture form is a small form you paste into your own website. Every submission arrives in Hey Customer as a new lead, so nothing gets retyped.
Go to Configurations and then Lead Capture.
Select Add a new form.
Name the form something you'll recognize later, such as "Website contact form".
Pick a lead source so you can tell later where these leads came from.
Add the fields you want. First name, last name, company name and email are always included; phone number, website and "How did you hear about us?" are optional, and any custom field you've created for leads can be added too.
Drag fields in the right-hand column to set the order they appear in.
Write the message people see after they submit, then save.
Open the form and choose Embed code, then Copy to clipboard, and paste the snippet into your website.
Good to know
The Welcome page is only visible to people whose permission group includes settings access. Hiding it hides it for everyone in your organization, not just you.
Invitations expire 10 days after they're sent. Until someone accepts, you can resend or cancel the invitation from the pending list on the Team Members page.
You can't invite an email address that already belongs to a member of your organization, and you can't send a second invitation to an address that already has one waiting — resend the original instead.
Every organization has one account owner. The account owner can't be deactivated, and their permission group must always include settings access.
Won and Lost are special: they can't be archived or deleted. Any other status can be archived, but it can only be deleted while no opportunities are sitting in it.
Statuses you add yourself are always open statuses of the pipeline. Marking an opportunity as won or lost stays with the built-in Won and Lost statuses.
A custom field's type is fixed once you create it. If you need a different type, add a new field and archive the old one.
Custom fields are archived rather than deleted, so the values already recorded against them aren't lost. Archived fields can be brought back at any time.
Single checkbox fields can't be marked as required.
Lead capture forms are protected by reCAPTCHA by default and accept up to 5 submissions an hour from the same visitor. You can turn reCAPTCHA off per form.
A form that has already received submissions can't be deleted. Deactivate it instead — it stops accepting new submissions and keeps the ones you have.