Build a form, put it on your site, and work what comes in
A lead capture form lets people on your website tell you they're interested, and drops each one straight into Hey Customer as a lead tagged with its source.
How it works
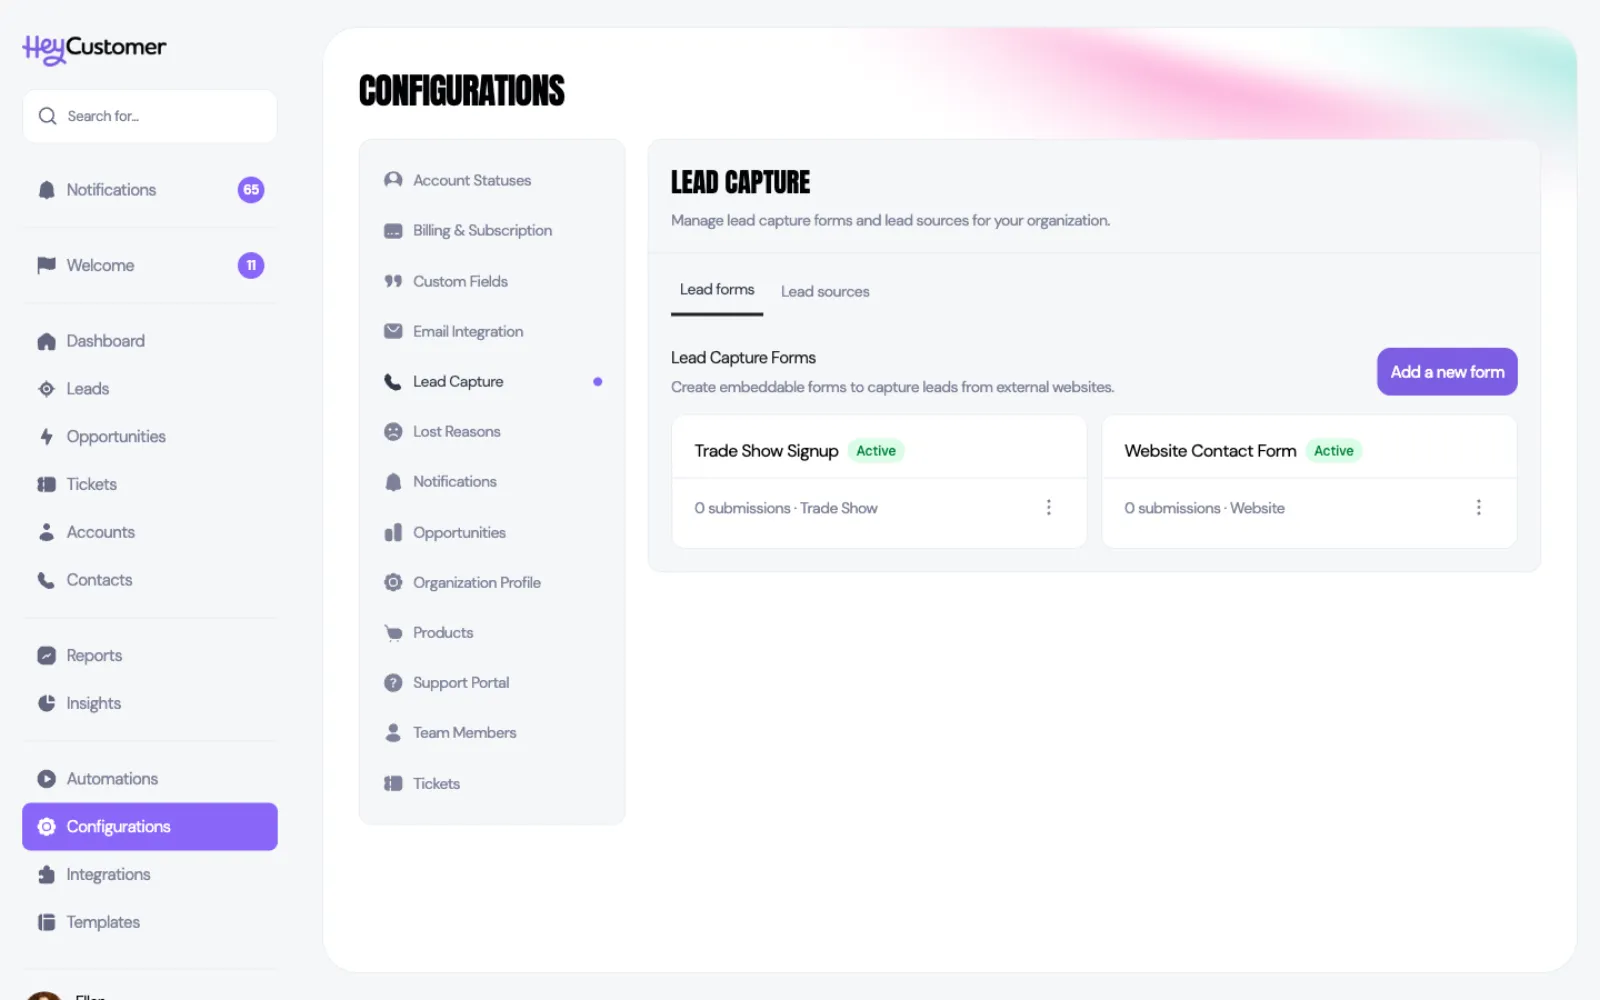
Select Configurations in the left-hand menu, then Lead Capture. This is where your forms live, alongside the Lead sources you use to record where people came from.
A form is three things: the questions it asks, a few settings, and an address you can either link to or embed in your own website. When someone fills it in, Hey Customer creates a contact for the person and a lead for their company, tags the lead with the form's source, and tells your team about it.
Build a form
Select Configurations, then Lead Capture.
Select Add a new form and give it a name. The name is for you, not your visitors — it's how you'll recognize the form in this list.
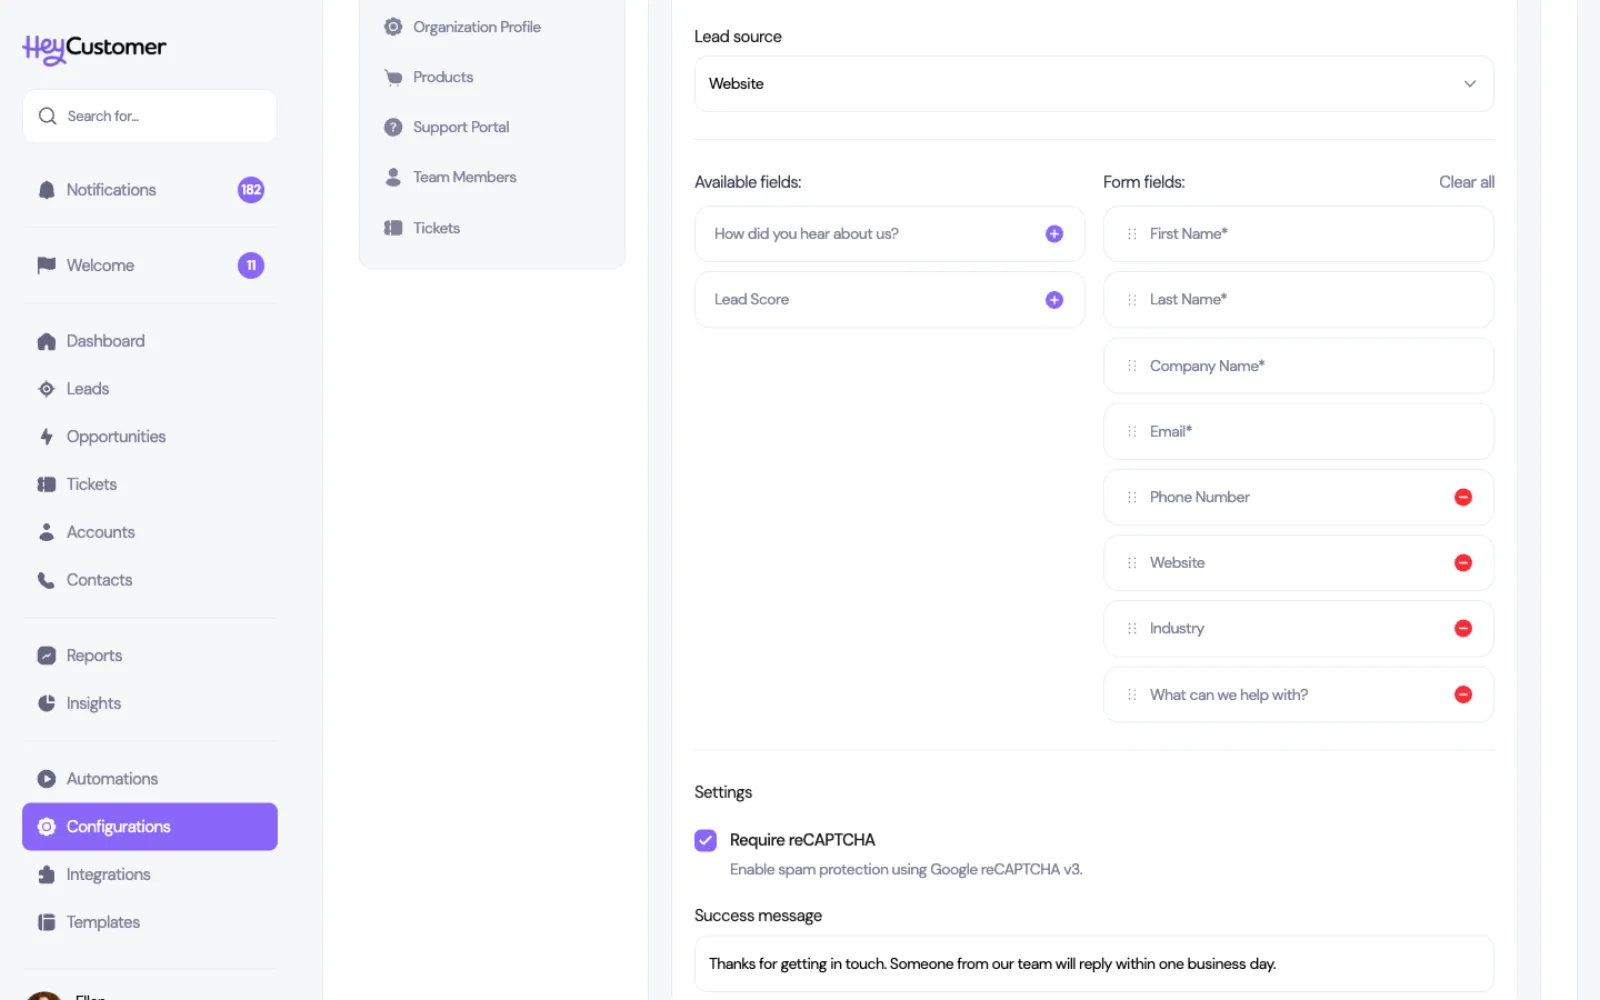
Choose a Lead source. Every lead this form creates is tagged with it, which is what makes your source reporting worth reading.
Build the questions. Available fields on the left are what you can add; select the plus to move one into Form fields on the right. Drag the handles to reorder.
Write the Success message people see after they submit.
Select Save changes.
First name, last name, company name and email are always on the form and can't be removed — they're marked with an asterisk. Everything else is yours to choose, including any custom field you've created for leads.
Put the form on your website
Open the form and you'll find two ways to publish it.
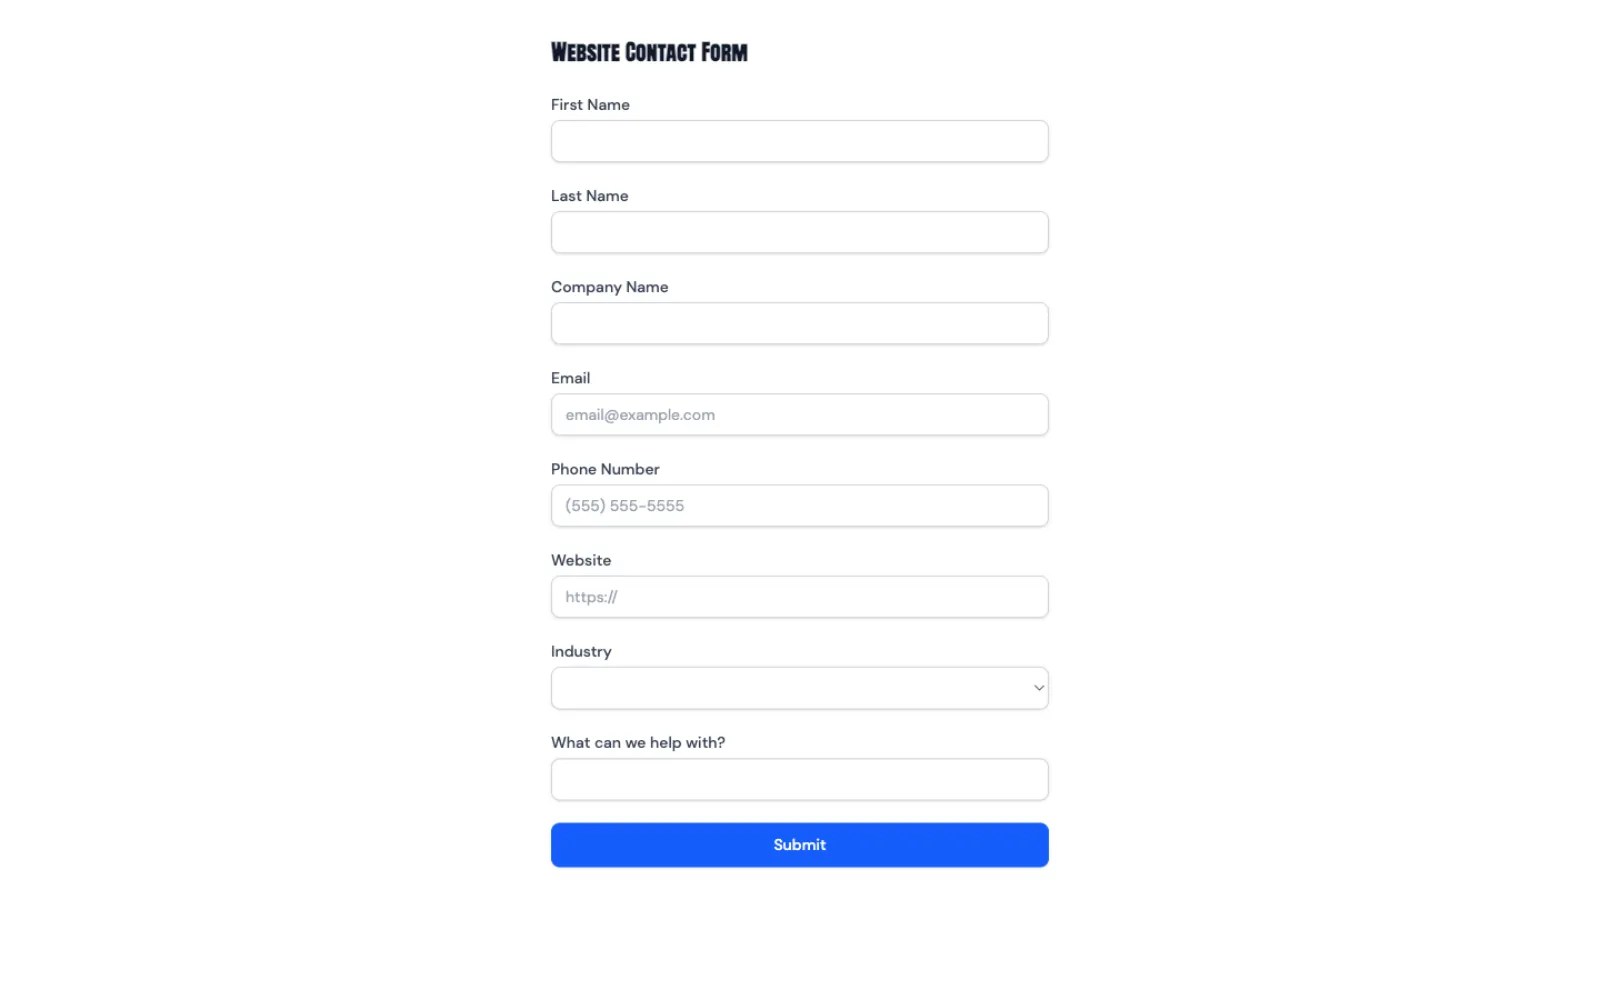
The address. A plain link you can send in an email, put behind a button, or use as a landing page on its own.
Embed Code. Select this from the form's menu to get a short block of HTML. Paste it into your own website where you want the form to appear, and it shows up inside your page. Select Copy to clipboard, hand it to whoever edits your site, and you're done.
Either way, each question appears as the kind of box it should be. A dropdown you set up is a dropdown for your visitor, a date is a date picker, a yes-or-no is a checkbox, and an email or phone field brings up the right keyboard on a phone. You don't have to think about it — the form follows how you built the field.
Keep the junk out
Require reCAPTCHA is on by default and screens out automated submissions using Google reCAPTCHA v3, which works quietly in the background rather than asking anyone to identify traffic lights. Leave it on for any form that faces the open internet.
On top of that, each form accepts a limited number of submissions per hour from any one visitor. Anything beyond that is turned away with a message asking them to try again later, so a single bad actor can't flood your lead list.
Work what comes in
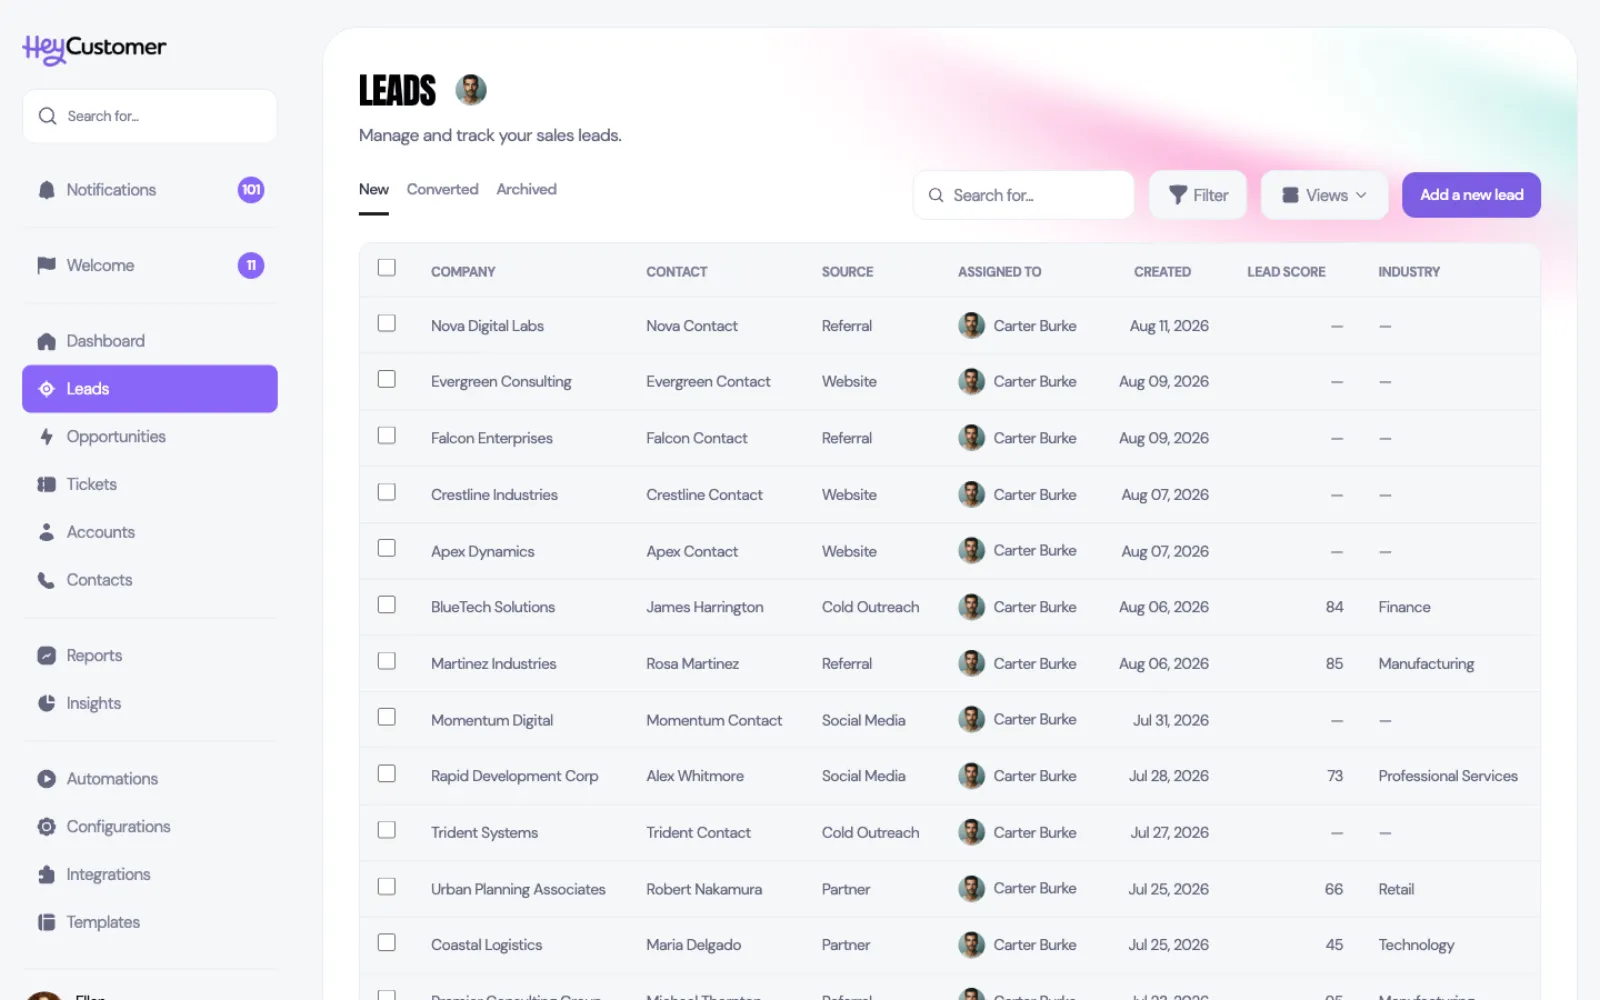
Select Leads in the left-hand menu. New submissions land under the New tab.
Open a lead to see the person, their company, the source they came from, and anything else your form asked.
Choose who it's assigned to so someone is clearly responsible for following up.
When it's real, select Convert to turn the lead into an opportunity and start working it in your pipeline.
Converting keeps the contact and who it's assigned to, files the lead under Converted, and opens an opportunity in the first status of your pipeline for you to put a value against.
Good to know
A form has to ask for first name, last name, company name and email. Those four are what a lead is built from.
Adding the How did you hear about us? field lets visitors pick their own source from your list, which is useful when one form is linked from several places.
Turning a form off stops it accepting submissions and shows visitors a short notice. The form and everything it has collected stay exactly where they are.
A form that has received submissions can't be deleted, so your history stays intact. Turn it off instead.
Rejected submissions are still recorded against the form, so a form that looks quiet but is collecting failures is easy to spot.
If an answer to one of your custom questions can't be stored, the lead still arrives — only that answer is left off, and the form's record of the submission says which one and why.
Leads created this way trigger your new-lead notifications, the same as a lead someone types in by hand.
You need permission to reach Configurations to build or edit forms. Filling one in needs nothing at all — that's the point.
lead capture, lead form, lead forms, capture form, contact form, web form, website form, embed form, embed code, iframe, hosted form, lead source, spam, captcha, recaptcha, rate limit, new lead, convert lead, lead to opportunity, inbound